Refresh Your Living Area: Experienced House Painters Provide Advice and Techniques
Renovating a living space can significantly enhance its attractiveness. Expert house painters stress the importance of picking an fitting color palette that complements the home's architecture. Proper preparation is vital to achieving a flawless finish. Additionally, grasping effective application techniques serves a crucial role in the result. With the right approach, anyone can create a stunning environment that reflects their style. The journey doesn't end with paint; maintenance is similarly important. What should homeowners know about sustaining their efforts?
Selecting the Perfect Color Palette
What's the best way to select the ideal color palette for a home? The process starts with recognizing the emotions and atmosphere that distinct colors evoke. Muted tones often create a calming environment, while vibrant hues can revitalize a space. Homeowners should consider the home's architecture and natural light; darker shades may work well in light-filled areas but could make tight, dim rooms feel claustrophobic.
In addition, it is crucial to contemplate the flow between rooms. A harmonious color scheme can improve the overall aesthetic and create a sense of unity. Utilizing color swatches and testing them on walls can help imagine how the colors interact with furnishings and decor. Finally, personal preference plays a considerable role, as choosing shades that resonate with one's taste guarantees a comfortable and inviting space. By balancing these elements, one can successfully develop a harmonious color palette tailored to individual needs.
Preparing Your Space for Painting
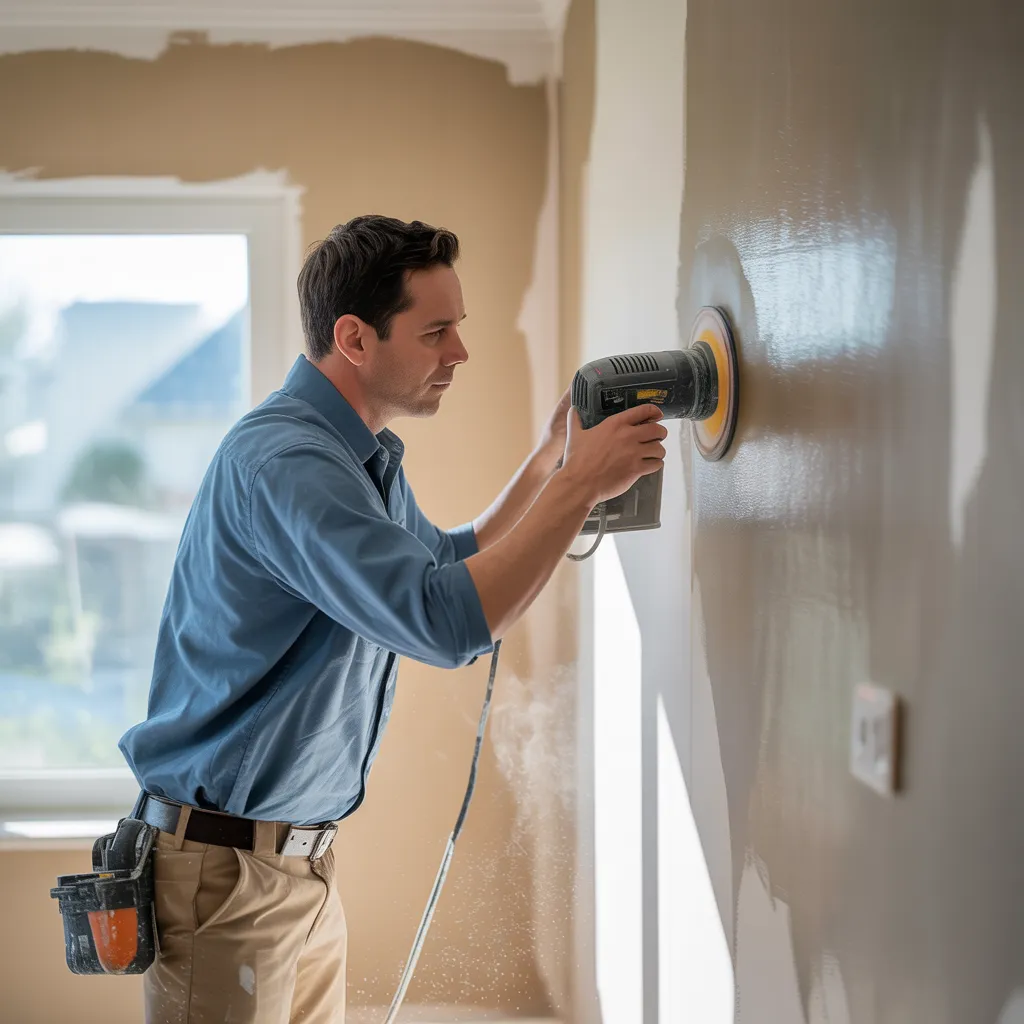
Before initiating a painting project, it is essential to prepare the space comprehensively to guarantee excellent results. This preparation includes several key steps. First, the area should be cleared of furniture and other items to stop damage and enable unimpeded movement. If removing large items is not viable, covering them with drop cloths or plastic sheeting is recommended.
After that, surfaces must be cleaned to guarantee proper paint adhesion. Grease, dust, and grime can obstruct the painting process, so a thorough cleansing of trim and walls is essential. Additionally, any imperfections like holes or cracks should be repaired with spackling compound or filler, then sanded until smooth.
Finally, it is crucial to tape off edges where distinct surfaces intersect, such as door frames, trim, and windows. This step will help achieve clean lines and a professional finish, preparing for a successful painting job.
Key Resources and Resources
When the area is ready, assembling the right tools and materials becomes vital for obtaining a pristine paint job. A high-quality paintbrush, typically angled for precision, is imperative for cutting in around perimeters and corners. Rollers, with various nap lengths, are necessary for covering larger wall areas efficiently. A durable paint tray assists in manage paint application and decreases mess.
Painters need to acquire painter's tape to safeguard trim and create clean lines. Drop cloths or plastic sheeting are important for safeguarding floors and furniture from drips and spills. A ladder or step stool guarantees easy access to high spaces, while a paint stirrer assists in achieving an even consistency.
In conclusion, opting for top-quality paint ideal for the specific surface and desired finish is essential. By arming themselves with these essential tools and materials, painters pave the way for a quality and high-quality finish.
Excelling in Usage Techniques
Mastering application techniques is important for achieving a professional finish in house painting. Proper surface preparation is the key of a successful paint job. This includes cleaning, sanding, and priming surfaces to provide the best paint adhesion. Painters should utilize methods such as brushing, rolling, and spraying, each fitted for different areas and finishes. For example, brushes are perfect for edges and detailed work, while rollers cover larger areas quickly, and sprayers deliver an even coat with minimal texture.
In addition, knowing the proper amount of paint to load on the roller or brush is critical; too much can create drips, while too little may result in uneven coverage. The application ought to be smooth and consistent, using steady, even strokes. Patience is critical, as hurrying can undermine the final appearance. Following drying times between coats also helps in achieving a flawless finish.
Tips for Achieving a Expert Finish
Reaching a professional finish in house painting demands careful attention to detail and adherence to best practices. First, selecting high-quality paint and tools is crucial; professional-grade brushes and rollers can significantly influence the final outcome. Thorough surface preparation cannot be overlooked; cleaning, sanding, and priming surfaces guarantee ideal paint adhesion. Painters should utilize even strokes and consistent pressure while applying paint, allowing for adequate drying time between coats to eliminate streaks or uneven textures.
Utilizing painter's learn now tape for sharp lines creates a clean separation between different colors, enhancing the overall appearance. Additionally, maintaining a wet edge during application stops lap marks and promotes a uniform finish. Finally, reviewing the finished work under different lighting conditions permits the identification of imperfections that may need touch-ups. By implementing these strategies, individuals can achieve a professional, professional look that transforms their space.
Typical Errors to Steer Clear Of
Even with the best techniques for a professional finish, common mistakes can detract from the overall quality of a painting project. One prevalent error is overlooking proper surface preparation, such as cleaning, sanding, or priming, which can result in poor adhesion and uneven coverage. Furthermore, using the wrong brush or roller can cause streaks or texture inconsistencies.
Another typical oversight is not accounting for environmental conditions, especially humidity and temperature, which can affect drying times and paint application. Rushing through the project may lead to missed spots or insufficient drying between coats, diminishing the final look.
Finally, picking the improper paint finish for a certain area can cause unwanted results, such as overly prominent shine or problems with cleaning. To attain a flawless finish, awareness of these common pitfalls is essential for any residential painting project.
Keeping Up Your Recently Painted Surfaces
Preserving recently painted surfaces is critical for preserving their appearance and longevity. Creating a regular cleaning schedule and applying gentle cleaning practices can help minimize damage. In addition, avoiding harsh chemicals assures that the integrity of the paint remains intact over time.
Standard Cleaning Schedule
A consistent cleaning schedule is essential for safeguarding the aesthetic and longevity of freshly painted areas. Routine care helps prevent the gathering of grime, dust, and soil that can compromise the sheen and compromise the paint's quality. It is wise to set up a routine that includes soft dusting and gentle cleaning every couple of weeks, using a soft cloth or sponge. For zones vulnerable to stains, such as hallways or kitchens, more consistent cleaning may be required. Residents should focus on busy areas, where marks and scuffs can accumulate. By adopting this preventive strategy, homeowners can ensure their painted surfaces remain fresh and vibrant, boosting the total visual appeal of their living areas for years to come.
Steer Clear of Aggressive Chemicals
Countless homeowners overlook the impact of harsh chemicals on new paint finishes. These products can deteriorate the finish, resulting in discoloration, peeling, and premature wear. Professionals suggest using mild, pH-balanced cleaners to safeguard the integrity of the paint. Furthermore, it is advisable to avoid abrasive scrubbers, which can damage the surface and reduce its appearance. Alternatively, non-abrasive cloths or sponges should be applied for gentle cleaning. Residents should also be cautious with products that contain bleach or ammonia, as these can respond poorly with paint. By selecting safer alternatives, such as natural cleaners like vinegar or baking soda, homeowners can preserve their painted surfaces effectively while prolonging their lifespan and beauty. Remembering these recommendations secures a lasting, vibrant finish.
Questions and Answers
What Is the Total Drying Time for Paint?
Paint generally takes 1-2 hours to reach a touch-dry state, but complete curing can take a period of days to weeks, influenced by the kind of paint, atmospheric moisture, and temperature conditions in the surrounding area.
Can I Apply Paint Over Wallpaper or Previous Paint?
It's possible to paint over wallpaper or old paint, but proper preparation is required. Removing loose wallpaper and sanding old paint guarantees better adhesion. A primer might be needed to achieve a smooth, long-lasting surface finish.
What Is the Best Time of Year to Paint?
The best period of year to paint is generally spring or early fall, when temperatures are moderate and humidity levels are lower. This ensures perfect drying conditions and minimizes the risk of paint problems.
How Should I Decide Between DIY and Professional Services?
Choosing between DIY and employing professionals relies on skill level, task complexity, schedule flexibility, and budget. Considering these aspects enables individuals make knowledgeable choices that align with their expected outcome and general satisfaction.
What Are the Environmental Effects of Painting Your Home?
Painting your home may result in environmental impacts such as VOC emissions, runoff-related water contamination, and waste generation from paint containers. Opting for eco-friendly products can mitigate these negative effects and encourage sustainable practices.